
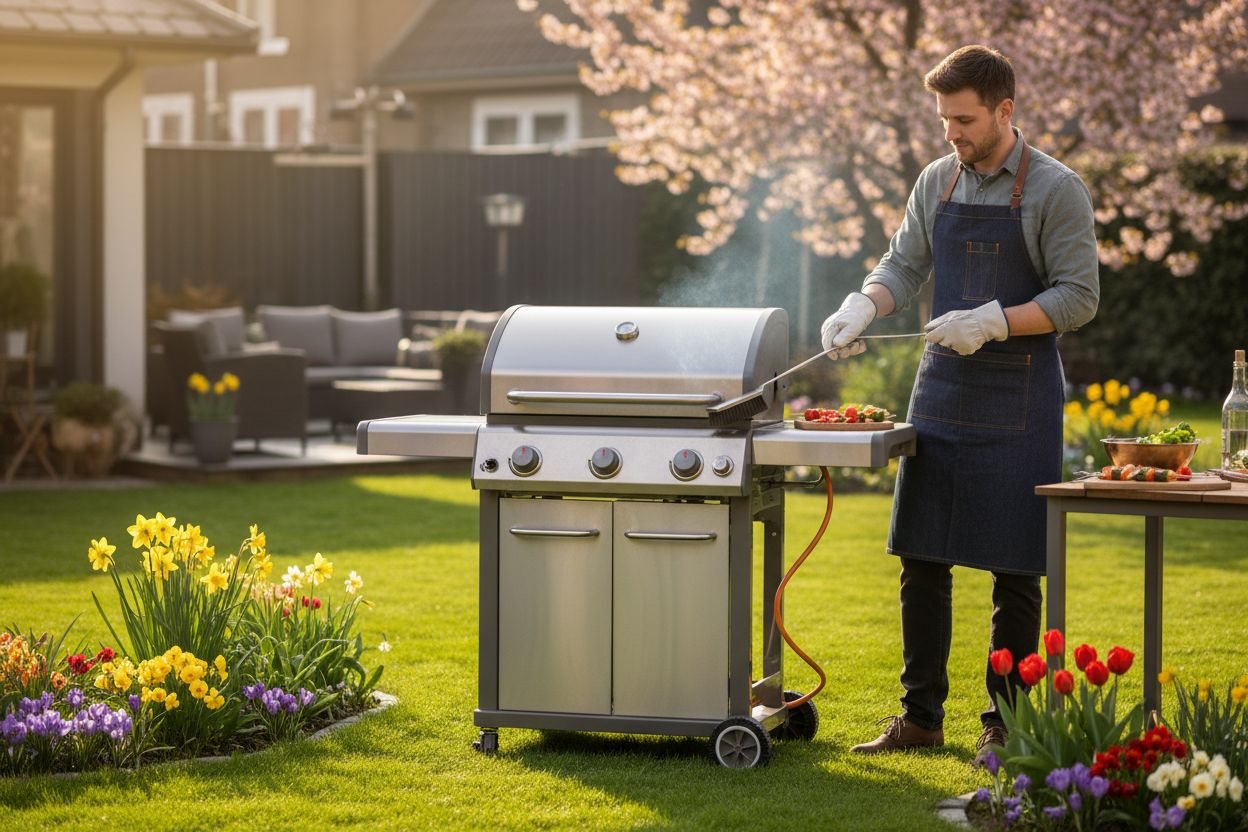
Spring is here, and that means one thing for outdoor cooking enthusiasts: grilling season is about to kick into high gear. But before you fire up that first burger of the year, your grill needs some attention. After months of sitting idle through winter weather, cold temperatures, and moisture, your BBQ has likely accumulated dust, rust, grease buildup, and maybe even a few unwelcome critters that decided your grill makes a cozy winter home.
A proper spring maintenance routine is the difference between a grill that performs beautifully all season long and one that struggles with uneven heat, flare-ups, and premature failure. Whether you own a gas grill, charcoal kettle, pellet smoker, Blackstone griddle, or kamado cooker, this comprehensive checklist will walk you through every step you need to take to get your BBQ ready for another great year of outdoor cooking.
Why Spring Grill Maintenance Matters More Than You Think
Many grill owners make the mistake of simply turning on their grill after winter and hoping for the best. But skipping spring maintenance can lead to some serious problems:
- Safety hazards: Grease buildup is a fire risk. Corroded gas lines can leak propane. Blocked burner ports create dangerous flare-ups and uneven flames.
- Poor cooking performance: Dirty grates, clogged burners, and degraded components all affect heat distribution and temperature control, ruining your cooks.
- Shortened grill lifespan: Neglected rust and corrosion spread quickly once they start. A grill that could last a decade might only survive three or four years without proper seasonal care.
- Wasted money: Replacing parts that could have been maintained, or replacing an entire grill that could have been saved, adds up fast over the years.
Taking an hour or two at the start of each grilling season to properly inspect, clean, and protect your grill is one of the smartest investments you can make as a grill owner.
Phase 1: Full Exterior Inspection
Before you start cleaning anything, give your grill a thorough visual inspection from top to bottom. You are looking for any signs of damage, wear, or deterioration that occurred over the winter months.
Check for Rust and Corrosion
Examine every exterior surface of your grill carefully. Look at the lid, body panels, side tables, legs, wheels, and any hardware. Pay special attention to areas where water tends to pool or collect, like the bottom of the firebox, around handles, and along seams and joints. Even small rust spots should be addressed now before they have a chance to spread during the humid summer months.
If you find surface rust, use fine-grit sandpaper or a scotch-brite pad to gently remove it. For more serious corrosion, a wire brush may be necessary. Once the rust is removed, the bare metal needs to be protected immediately to prevent it from returning.
Inspect the Frame and Structure
Give the grill a gentle shake to check for any loose components. Make sure all bolts, screws, and fasteners are tight. Check the legs and wheels for stability. If your grill has a cart, look for any cracks or signs of structural weakness. Grills that have been exposed to winter storms or high winds may have shifted or sustained damage you did not notice.
Examine Handles, Knobs, and Controls
Test all handles to make sure they are secure and not cracked. Turn every knob to confirm smooth operation. If you have electronic ignition, test it now. Replace any batteries in electronic components. Check thermometer accuracy by comparing it to a known-accurate probe thermometer.
Phase 2: Deep Interior Cleaning
Once the exterior inspection is complete, it is time to open things up and tackle the inside. This is where the real grime lives.
Clean the Cooking Grates
Remove all cooking grates and give them a thorough cleaning. For cast iron grates, use a stiff wire brush to remove all carbon buildup and food residue, then wash with warm soapy water, rinse completely, and re-season with a thin coat of high-smoke-point cooking oil. For stainless steel or porcelain-coated grates, a nylon brush and degreaser work well. Avoid using wire brushes on porcelain-coated grates, as they can chip the coating and create rust-prone bare spots.
Clear the Burner Tubes (Gas Grills)
This is one of the most important and most overlooked maintenance tasks for gas grill owners. Over winter, spiders and insects love to build nests inside burner tubes. These blockages restrict gas flow and create extremely dangerous conditions, including gas buildup that can cause flashback fires. Remove each burner tube and use a pipe cleaner or small bottle brush to clear any obstructions from the venturi openings. Use a straightened paper clip or pin to clear individual burner ports.
Clean the Firebox
Scrape and remove all ash, grease, and carbon buildup from the inside of the firebox. A plastic putty knife works well for scraping without damaging the interior surface. Vacuum out loose debris. For stubborn grease, a degreaser spray and some elbow grease will do the trick. Make sure to clean the interior walls, lid, and any heat deflectors or flavorizer bars.
Empty and Clean the Grease Management System
The grease trap or drip pan is a critical component that many grill owners forget about. Remove the pan or tray, dispose of any old grease properly (never pour it down a drain), and scrub it clean. Check the grease channel or drain for blockages. Old, rancid grease is both a fire hazard and a source of terrible odors that can taint your food. Line the clean grease tray with aluminum foil for easier cleanup during the season.
Blackstone Griddle Specific: Resurface and Re-Season
If you own a Blackstone or other flat-top griddle, spring maintenance includes a complete resurface. Over winter, griddle surfaces often develop rust spots, especially around the edges and corners where seasoning tends to wear thin. Use a griddle scraper and steel wool to strip the surface down, removing all rust and old seasoning. Then wash with soap and water (the only time you should use soap on a griddle), dry completely, and apply multiple thin layers of seasoning oil. Heat the griddle between each layer until the oil smokes and polymerizes. A properly re-seasoned griddle will have a dark, smooth, non-stick surface ready for pancakes and smash burgers.
Phase 3: Component Testing and Replacement
With everything clean, now is the time to test all components and replace anything that is worn out or damaged.
Test the Ignition System
For gas grills, turn on each burner individually and verify that it ignites properly and produces even, blue flames across the entire length. Yellow or orange flames indicate insufficient air mixing, which usually means clogged burner ports or misaligned air shutters. If the electronic ignition does not spark, check the battery first, then inspect the igniter electrode for corrosion or damage. Keep a lighter handy as a backup, but plan to fix the ignition system properly.
Leak Test Gas Connections
This is a non-negotiable safety check. Mix a solution of soapy water and apply it to every gas connection point: the tank valve, the regulator, all hose connections, and each burner valve. Turn on the gas (without lighting the grill) and watch for bubbles. Any bubbles indicate a gas leak that must be fixed before using the grill. Replace any cracked or damaged hoses immediately. If you smell gas at any point, shut everything off and do not attempt to light the grill.
Inspect Heat Distribution Components
Check your heat plates, flavorizer bars, heat tents, or ceramic briquettes depending on your grill type. These components sit between the burners and the cooking grates and are responsible for even heat distribution. They take a beating from dripping grease and extreme heat, so they are often the first components to rust through. If they are perforated, severely rusted, or warped, replace them. Running your grill without proper heat distribution components leads to hot spots, flare-ups, and poor cooking results.
Check the Propane Tank
Inspect your propane tank for any signs of damage, dents, or excessive rust. Check the manufacture date stamped on the collar. Propane tanks must be re-certified after 12 years (or 5 years for some types). If your tank is due for re-certification or in rough shape, take it to a propane dealer for inspection or exchange it for a new one. Start the season with a full tank so you do not run out mid-cook.
Phase 4: Protect the Exterior
This is the step that separates grill owners who get 3 to 5 years from their equipment from those who get 10 to 15 years. After all that cleaning and inspection work, your grill's exterior surfaces are at their most vulnerable. The factory finish has been through another season of heat cycles, UV exposure, and weather. Any areas you sanded to remove rust are now bare metal. Even areas that look fine may have micro-cracks in the finish that are invisible to the naked eye.
This is the perfect time to apply a protective coating to your grill's exterior. Not spray paint, not WD-40, not car wax. Your grill needs a purpose-built protective product that can withstand the unique combination of extreme heat, grease exposure, UV radiation, and moisture that outdoor cooking equipment faces every single day.
Why Ceramic Coating Is the Gold Standard
Grillacoat Protective Grill Coating was designed specifically for this purpose. It is a ceramic-based formula that bonds to your grill's surface at the molecular level, creating an invisible barrier that repels water, grease, and UV rays while withstanding the high temperatures your grill generates during cooking.
Applying Grillacoat as part of your spring maintenance routine gives your grill a fresh layer of protection right when it needs it most, before the heavy use of grilling season begins. The application process is simple:
- Make sure all exterior surfaces are completely clean and dry (which they should be after your Phase 2 cleaning).
- Use the included applicator to apply a thin, even layer to all exterior metal surfaces.
- Allow the coating to cure fully before using the grill.
- Enjoy a season of easy cleanup, superior protection, and a grill that looks great.
The hydrophobic properties of the ceramic coating mean that grease splatter wipes right off during the season, rain beads up and rolls away instead of sitting on the surface, and the factory finish underneath stays protected from UV degradation and micro-crack formation.
Protecting Blackstone Griddle Exteriors
Blackstone owners face a unique challenge because the exterior of the griddle, particularly the base, legs, and grease management system, are made of powder-coated steel that is highly vulnerable to rust. The cooking surface gets all the attention with seasoning, but the rest of the griddle is often neglected. Applying a ceramic protective coating to all non-cooking exterior surfaces is critical for Blackstone longevity, especially given how much grease splatter these flat-top cookers generate.
Phase 5: Set Up Your Grill Area for the Season
With your grill clean, inspected, tested, and protected, take a few more minutes to set up your entire grilling area for success.
Level Your Grill
Make sure your grill is sitting level on a stable surface. An unlevel grill causes grease to pool on one side, leading to uneven cooking and potential flare-ups. Use a bubble level across the cooking grates and adjust the grill legs or positioning as needed. If your grill sits on a patio or deck, check that the surface has not shifted or settled over winter.
Organize Your Accessories
Inventory your grilling accessories and replace anything that is worn out. Check your spatulas, tongs, grill brushes, and thermometers. Make sure you have a full supply of disposable drip liners, aluminum foil, and wood chips or pellets if applicable. Stock up on your favorite charcoal brand. Having everything organized and ready means fewer interruptions during your cooks.
Review Your Cover Situation
If your grill cover survived the winter in good shape, give it a wash and make sure it still fits properly. If it is torn, faded, or no longer fitting snugly, replace it. Remember that a cover is just one layer of protection. It keeps direct rain off your grill, but it does not prevent moisture buildup, UV damage during cooking, or grease corrosion. A cover works best in combination with a ceramic protective coating on the grill itself.
Clear the Surrounding Area
Remove any leaves, debris, or clutter from around your grill area. Make sure there is adequate clearance from your home, deck railing, or any flammable materials. Check that your grill is positioned with enough ventilation and that the smoke path is clear of any overhanging branches or structures that may have grown over winter.
Your Complete Spring Grill Maintenance Checklist
Here is the quick-reference version of everything we covered. Print this out or save it on your phone for easy reference:
Exterior Inspection
- Check all surfaces for rust and corrosion
- Sand and treat any rust spots
- Tighten all bolts, screws, and hardware
- Test handles, knobs, and controls
- Check wheels and casters
- Verify thermometer accuracy
Deep Cleaning
- Remove and scrub cooking grates
- Re-season cast iron grates
- Clear burner tubes and venturi openings
- Clean firebox interior
- Empty and clean grease management system
- Clean heat plates and flavorizer bars
- Resurface and re-season griddle surfaces
Testing and Replacement
- Test ignition system on each burner
- Perform soapy water leak test on all gas connections
- Replace worn heat distribution components
- Inspect and replace damaged hoses
- Check propane tank date and fill level
Protection
- Apply Grillacoat Protective Coating to all exterior surfaces
- Allow coating to cure completely
- Protect Blackstone griddle base and exterior components
Area Setup
- Level the grill
- Organize and restock accessories
- Clean or replace grill cover
- Clear surrounding area of debris and hazards
Make This the Year Your Grill Lasts
Every grilling season is an opportunity to either extend the life of your grill or let it inch closer to the curb. The steps outlined in this checklist take a couple of hours at most, but they pay dividends all season long in better performance, safer operation, and years of additional life for your equipment.
The single most impactful upgrade you can make during spring maintenance is applying a protective ceramic coating. Grillacoat gives your grill an invisible shield against the four biggest threats it faces: rust, grease, UV damage, and weather. Combined with regular cleaning and proper seasonal care, Grillacoat helps ensure that the grill you love keeps performing and looking great for years to come.
Do not let another grilling season start without giving your BBQ the care it deserves. Your future self, standing over a perfectly seared steak on a grill that still looks and works like new, will thank you.