
A good mechanic doesn't wait for a breakdown. They read the vehicle -- tire wear, oil color, exhaust behavior -- and catch the problem early. Your grill works the same way. Each of the six most common failure modes produces a specific, visible wear pattern. Once you know what to look for, you can diagnose most problems before they escalate.
Pattern 1: Uneven Char Marks Across the Cooking Surface
If one zone of your grill consistently burns food while another barely sears, the issue is almost certainly the burner, not your technique. Gas burners develop clogged ports over time as grease, rust flakes, and spider debris block individual holes. The result is uneven flame distribution that maps directly to the clog location.
According to The Spruce Eats, light the grill and watch the flame pattern on each burner -- dark spots indicate clogged ports. Running the grill on high for 15 minutes clears light debris. For heavier buildup, clean the burner tube with a wire brush or replace it for under $30.

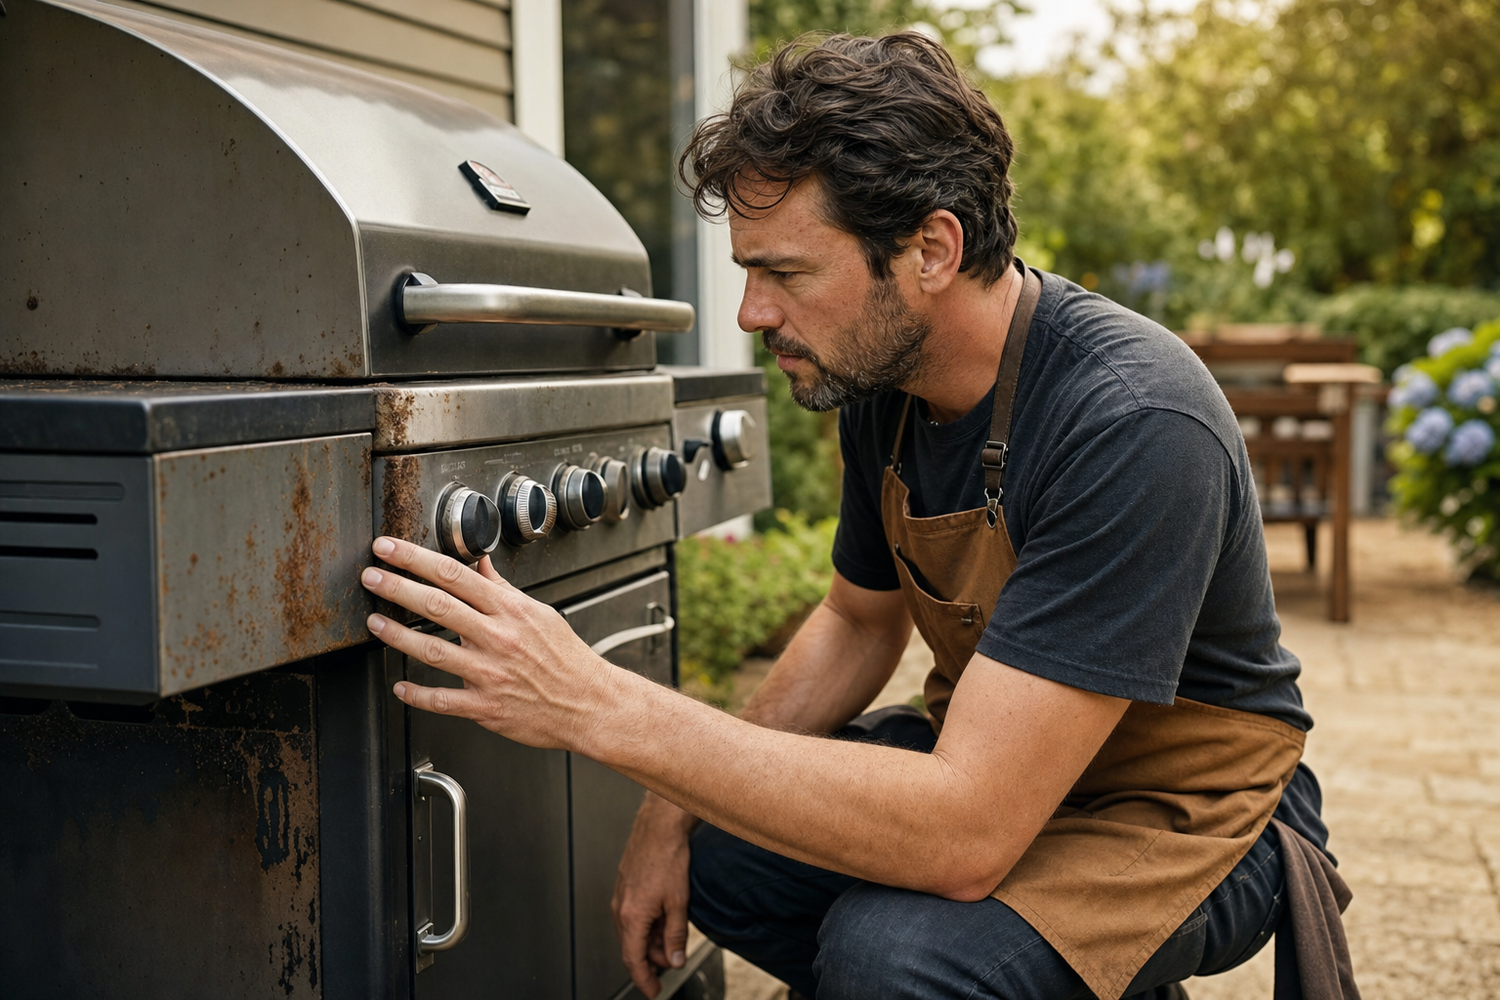
Pattern 2: Rust Streaks Down the Side Panels
Orange-brown streaks running vertically down your grill's exterior are not a surface problem -- they are an interior moisture signal. Rust is forming inside the firebox and finding the path of least resistance out through the panels. This typically happens when condensation traps inside a covered, cold grill over days or weeks.
The fix: clean the interior and run the grill on high for 10-15 minutes after the last cook to purge moisture before covering. Once rust reaches the exterior panel and compromises the finish, the progression accelerates. A ceramic coating like Grillacoat seals the panel surface against water infiltration and stops the streaks from forming.
Pattern 3: Powder Coat Chalking and Dull White Residue
If rubbing your palm across the hood leaves a chalky white residue on your hand, the powder coat is failing. According to RIPOL's coating analysis, UV radiation degrades the binder in powder coat over time, producing the characteristic chalky residue that signals the finish has lost both its aesthetic and protective properties. No amount of cleaning reverses this -- it is a chemistry failure, not a dirt problem.
The window to intervene is before chalking begins. If chalking has already started, Grillacoat bonds to the cleaned substrate and restores the protective barrier -- one of the two failure modes on this list that a ceramic coating addresses directly.
Pattern 4: Enamel Crazing -- Fine Hairline Cracks in the Surface
Porcelain enamel is one of the most durable grill finishes, but heat cycling is its one consistent failure mode. The metal substrate and the enamel layer expand at different rates under repeated temperature changes, and over time this mismatch creates a web of fine cracks. As noted in the grilling community, banking charcoal directly against the kettle wall -- exposing that section to extreme localized heat -- accelerates crazing significantly.
Prevention is the real fix: avoid thermal shock, let the grill warm gradually, and never hit a hot surface with cold water. Exterior crazing is cosmetic but signals that the protective layer is gone -- clean and protect what remains before full delamination sets in.

Pattern 5: Grease Tray Varnish and Dark Lacquer Buildup
Rendered grease left in the drip tray oxidizes into a hard, dark lacquer over multiple cook cycles. It is a fire accelerant and a precise readout of cleaning frequency. The fix is a regular schedule: empty and wipe the tray every three to four cooks. If varnish has hardened, a 30-minute soak with degreaser followed by a plastic scraper removes most of it without damaging the tray.
Pattern 6: Igniter Delay or No Spark on the First Push
A slow igniter that requires multiple pushes is common and usually easy to fix. According to My Grill Parts, start with the battery: confirm correct orientation, replace with a fresh AA, and clean the contact points with a cotton swab and rubbing alcohol. Corroded contacts are frequently the real culprit. If it clicks without sparking, moisture may be the cause -- run the lid open for a minute to let the electrode dry before trying again.
The 90-Second Pre-Cook Inspection
None of these patterns appears overnight. They develop over weeks and are visible if you look before you fire up. Adopt the mechanic's habit: a quick walk-around before each session -- check the drip tray, look at the panels for streaks, run a hand across the hood, confirm the igniter sparks on the first push. That 90 seconds catches most problems while they are still cheap to fix.
Two of the six -- powder coat chalking and side panel rust -- are finish failures that a ceramic barrier prevents outright. If either is already visible, the Grillacoat single can at $119 applies in about 10 minutes per panel and bonds for multiple seasons. The other four are mechanical and procedural: clean regularly, burn off moisture after each cook, and replace small parts before they cascade into bigger problems.