
Most backyard grillers shuck their corn before it goes on the grill. The kernels get direct flame, char in a couple of minutes, and end up somewhere between caramelized and dried out. The restaurant version -- the one that ends up with kernels that are sweet, slightly smoky, and fully cooked through -- starts with the husk still on. There is a reason for that, and it takes about three steps to replicate at home.

Why Husk-On Works
When corn goes on the grill with the husk intact, the husk does double duty. It insulates the kernels from direct radiant heat, which prevents the outside of the ear from carbonizing before the inside is cooked. More importantly, it traps the corn's own moisture. The steam produced inside that husk envelope cooks the kernels from all sides simultaneously -- you get fully cooked, plump kernels rather than the uneven result of direct-heat grilling, where the surface chars and the interior lags.
According to USDA nutrition data, sweet corn is approximately 76% water by weight. That water content is what makes husk-on grilling so effective -- you have a built-in steamer wrapped around the ear. The char you get comes from the husk contact with the grate, not from direct flame on the kernels, which means you get the grilled aroma without the dried-out texture.
J. Kenji López-Alt at Serious Eats has tested every corn grilling method systematically, and the husk-on approach consistently delivers the best texture because the steam environment is controlled. Direct-heat grilling on bare cobs produces good char but uneven cooking and moisture loss. Foil-wrapped corn steams without any char character at all. The husk is the right tool for the job.
Step One: Soak the Husks
Twenty minutes before the husks touch the grill, submerge the whole ears -- husks intact -- in cold water. A large pot, a cooler, or a bucket all work. Weigh them down if they float.
The soak does two things: it loads the husks with moisture that will turn to steam during cooking, and it slows the rate at which the outer husk chars. Without the soak, the husks dry out and ignite before the kernels finish cooking. With the soak, the husks char gradually and predictably, and the steam production stays consistent through the full cook time.
Twenty minutes is the minimum. Thirty is better. You can soak for up to an hour without any negative effect on the corn.
Step Two: Grill Over Indirect Heat
Pull the corn from the water, shake off the excess, and lay the ears on the indirect zone of your grill. Medium heat -- roughly 400 degrees dome temperature -- is the target. The husks will begin charring within the first few minutes; that is expected and correct.
Leave them on indirect heat for 15 to 20 minutes, turning a quarter turn every five minutes for even cooking. The husks will look significantly charred by the time the corn is done. That is fine. The kernels are protected from that char by the inner husk layers.
You will know the corn is done when a skewer or thin knife slides easily into a kernel through the husk -- no resistance -- and the outer husks are deeply charred. At this point the kernels are fully cooked, sweet, and still holding their moisture.
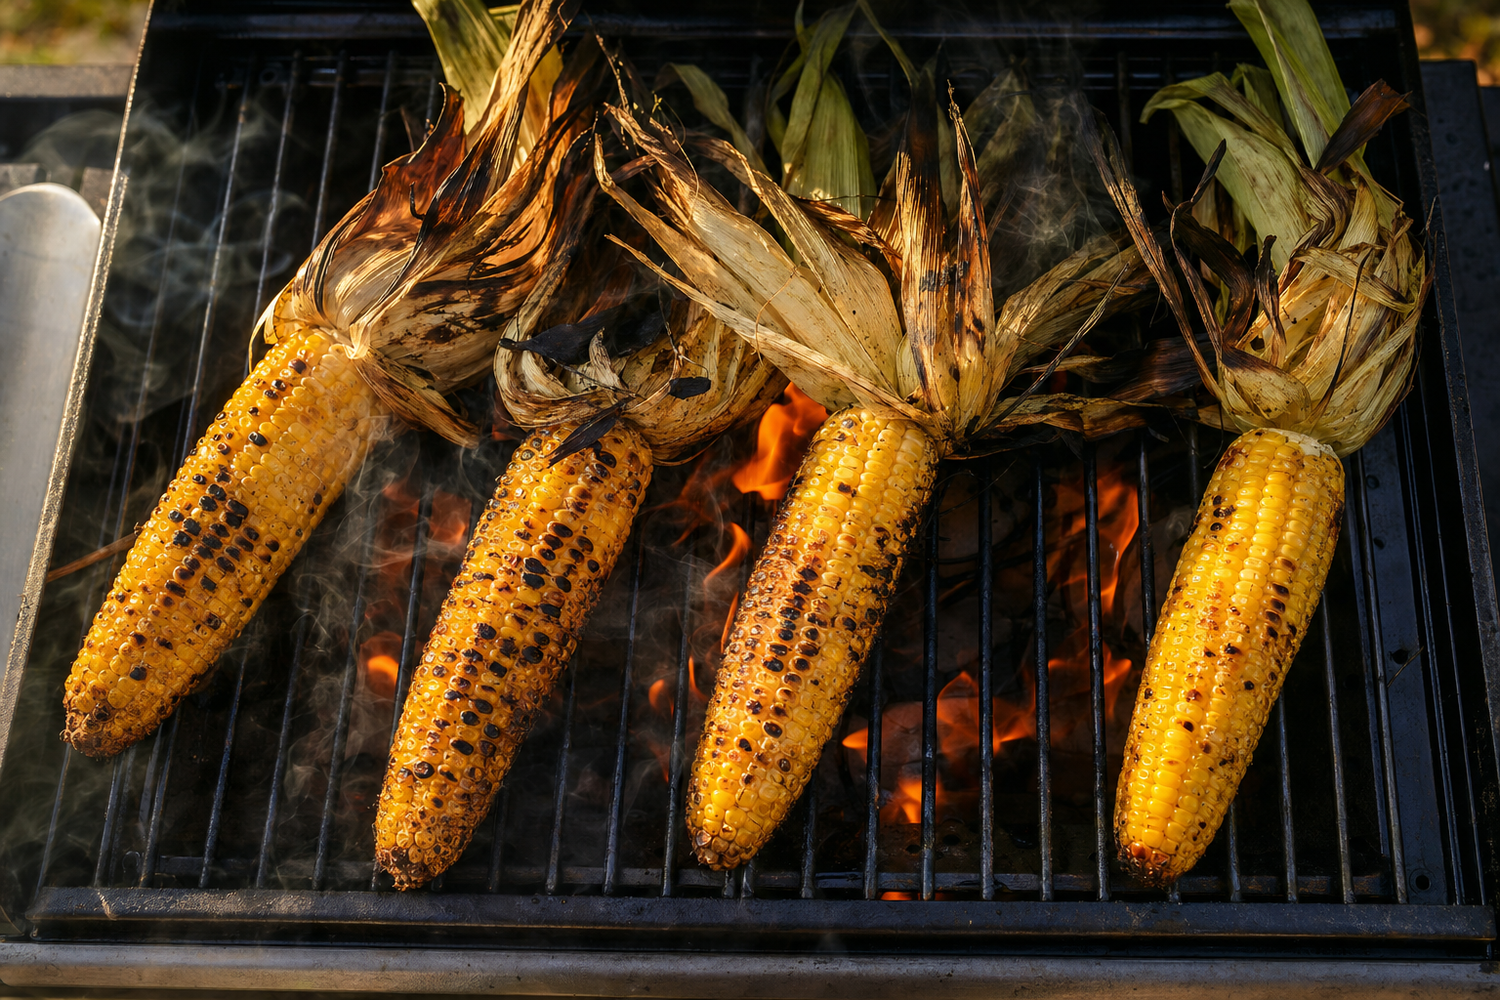
Step Three: Pull the Husk Back and Char

This is the restaurant finish that most home cooks skip. Pull the husks back to the base of the ear -- not off, just back -- and lay the exposed kernels directly over the hot zone for 60 to 90 seconds, rotating to get color on all sides.
This step adds actual char marks to the kernels while the interior is already fully cooked, giving you the visual caramelization of direct-fire grilling without the moisture loss. The husks trail behind the ear and pick up a bit more char themselves. The result is the version you have seen in restaurant photos -- charred on the exterior, fully cooked, still juicy.
The Grill Finish Problem Nobody Mentions
One footnote worth noting: corn drips. Butter, corn milk, and the caramelizing sugars from the kernel all land on whatever is below the ear during the direct-char phase. Over multiple cooks and a summer season, those sugars and fats bake into grill panels, the lid liner, and the surrounding metalwork. They are harder to remove than grease alone because caramelized sugar bonds aggressively to powder-coated and enameled surfaces at heat.
This is one of the less obvious reasons that grill finish degrades faster over a summer of vegetable cooking than it does from protein-only grills. A ceramic coating on the exterior panels does not protect the cooking grates -- Grillacoat is for exterior surfaces only -- but it does make the surrounding panels and lid exterior significantly easier to wipe clean after the sugary drips that accumulate during corn season.
Husk-on corn is a better cook by every metric: texture, moisture, flavor, and visual presentation. The three-step method adds about 20 minutes of total time over naked-cob grilling. That time is all passive -- you are not standing at the grill. The corn handles itself.