
You cooked for a crowd over Memorial Day weekend. Multiple sessions, multiple proteins, probably a rack of ribs. Now the grill is sitting loaded with the aftermath -- carbonized fat, sugar-glazed grate bars, grease pooled in the drip tray, and the residual smell of whatever burned onto the burner covers. This is the right moment for a deep clean, while the debris is recent and before it has had two weeks to bond harder to every surface.

Why Post-Holiday Timing Matters
Grease fires start from accumulated fat that has pooled in the drip tray or the bottom of the firebox. After a heavy cooking weekend, grease levels are at their seasonal peak. A grill that was borderline safe before Memorial Day may be genuinely hazardous after it. The post-holiday deep clean is not cosmetic maintenance -- it is fire prevention.
The secondary reason timing matters is material adhesion. Fresh carbonized fat and sugar-based glaze residue is significantly easier to remove than the same material after it has gone through multiple heat cycles. Every time you fire the grill without cleaning, the residue cures further. Carbon that can be scraped off today will require soaking and scrubbing in two weeks and may be effectively permanent after a month.
What a Deep Clean Covers
A post-holiday deep clean is different from the routine brush-and-go maintenance most people do before each cook. It covers every component that accumulates grease and carbon, in a specific order that prevents cross-contamination of already-cleaned surfaces.
The sequence: grates off and soaking first, then burner covers and heat deflectors, then the firebox interior, then the drip tray and grease management system, then the burners themselves, then the grate cleaning and reinstallation, then the exterior.
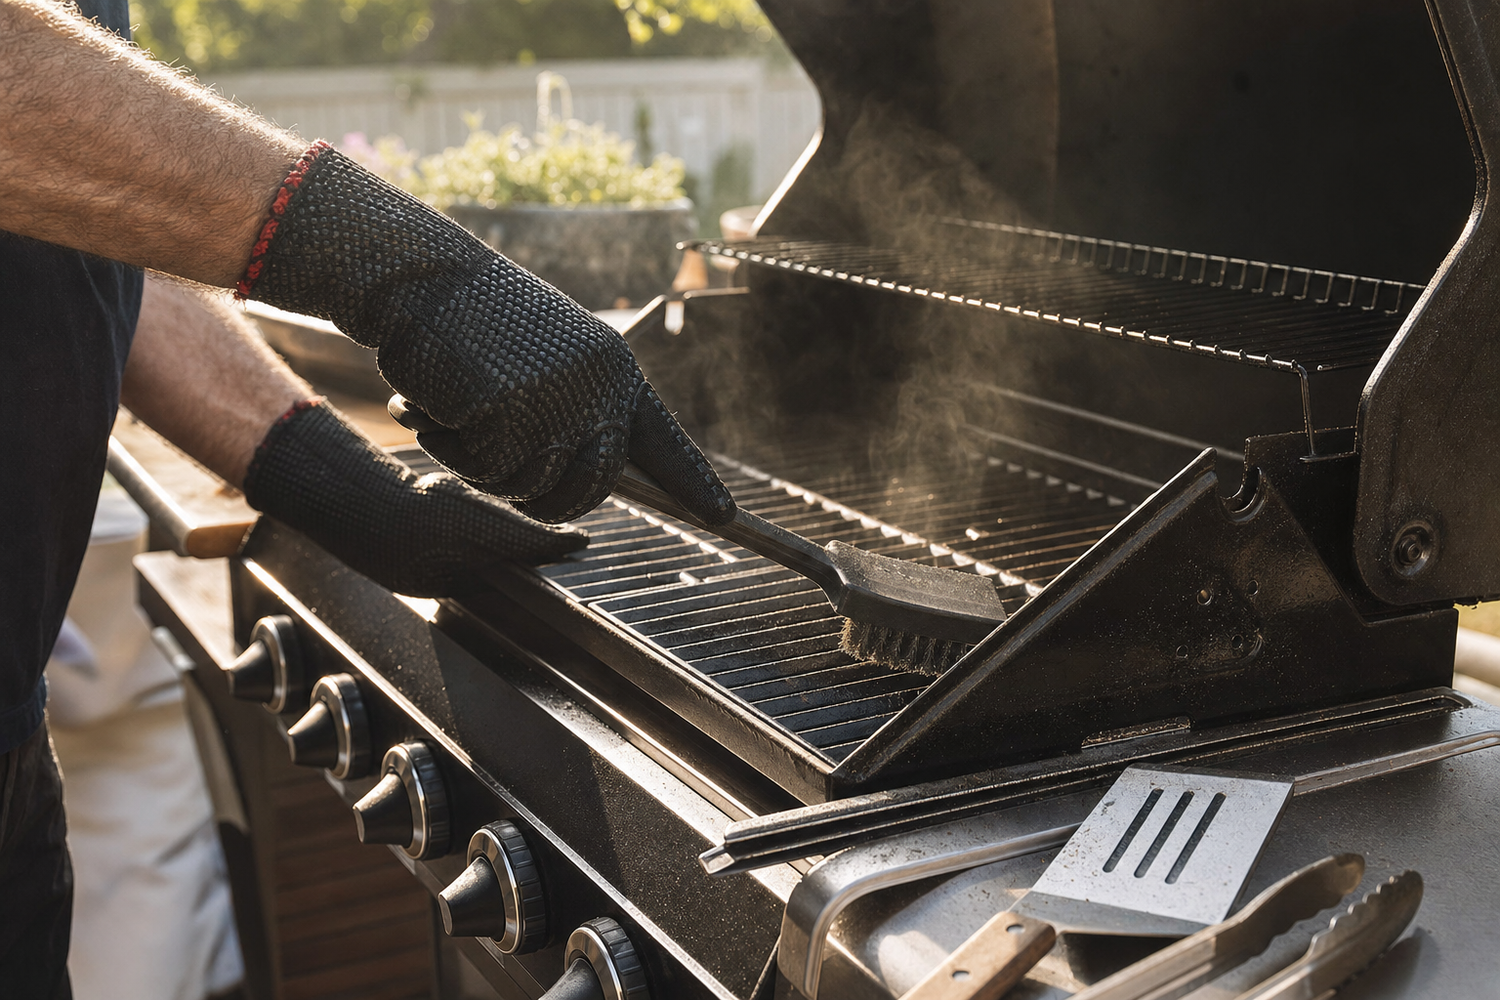
Grates
Remove grates while the grill is still slightly warm -- body-temperature warm, not cooking-temperature hot. Warm grates release carbon buildup more easily than cold ones. Place them in a large garbage bag with 1/4 cup of ammonia, seal the bag, and leave them overnight or for at least four hours. The ammonia fumes soften carbonized fat and glaze residue without requiring mechanical scrubbing that can damage grate coatings.
After soaking, rinse the grates with a garden hose and scrub with a stiff nylon brush or a grill brush appropriate for your grate material. Cast iron grates should be dried immediately and re-seasoned before reinstallation -- moisture is the enemy of bare cast iron. Stainless rod grates can air dry. Porcelain-coated grates should be scrubbed gently to avoid chipping the porcelain; chipped areas will rust.
Burner Covers and Heat Deflectors
These are the components that sit directly above the burners and receive the heaviest grease loading. Remove them and inspect for warping, rust-through, and blockage of the ventilation holes. Warped burner covers affect heat distribution and should be replaced. Rust-through creates uneven heat zones and drops debris onto the burners.
For cleaning, a wire brush and oven cleaner work well on steel components. Allow the cleaner to dwell for 10-15 minutes before scrubbing. Rinse thoroughly -- oven cleaner residue will produce significant smoke on first use if not fully removed. For porcelain-coated heat deflectors, avoid wire brushes and use a plastic scraper followed by a degreaser soak.
The Firebox Interior
With the grates and deflectors removed, you can access the firebox walls and floor. Use a putty knife or plastic scraper to dislodge any large carbon deposits, then sweep the debris out with a small whisk broom. Do not use a shop vac at this stage if there are any residual hot embers from previous cooks -- confirm the grill is completely cold before vacuuming.
After sweeping, spray the interior surfaces with a degreaser, allow it to dwell, and wipe down with a cloth or paper towels. The firebox interior does not need to be spotless -- a thin layer of cured carbon on the walls is normal and helps protect the steel from rust. What you are removing is the loose, flaky carbon and pooled grease, not the seasoned layer.
Drip Tray and Grease Management
This is the most important component from a fire safety standpoint. Remove the drip tray and dispose of the collected grease -- do not pour it down a drain. Most municipalities require grease disposal in the garbage in a sealed container. Scrape the tray with a putty knife, wash it with hot water and dish soap, and reinstall.
Check the grease drain tube if your grill has one. A blocked drain tube means grease that should exit the system is pooling inside the grill. Clear any blockage with a bottle brush. Check the grease collection bucket or drawer and empty it if full.
Burners
Inspect each burner for blockage of the gas ports. Spider webs, debris, and carbonized grease can block individual ports, producing uneven flames and hot spots. With the gas supply disconnected, use a wire or toothpick to clear any blocked ports. Do not drill out ports -- enlarging them changes the gas flow characteristics and can create dangerous burner conditions.
Check for rust-through on the burner tube. A small rust spot is cosmetic; a hole in the burner tube is a gas leak waiting to happen and requires burner replacement. Burners for most major grill brands are available as replacement parts and are not expensive. Replace burners that show structural compromise.
Exterior
Stainless steel exteriors should be cleaned with a dedicated stainless cleaner applied with a microfiber cloth, working with the grain of the metal. Working against the grain leaves visible scratch marks. After cleaning, a thin protective coat slows re-oxidation. Painted steel exteriors can be wiped down with a damp cloth and dried; avoid abrasive cleaners that scratch the paint surface and expose steel to rust.
Inspect the lid seal and handle hardware. Tighten any loose handle screws -- a loose lid handle on a heavy grill is a dropping hazard. Check the lid hinge for smooth operation.
Reassembly and Test Fire
Reinstall components in reverse order: burner covers, heat deflectors, grates. Before cooking on the clean grill, run a test fire at medium heat for 10-15 minutes with the lid closed. This burns off any cleaning product residue, re-seasons the firebox surfaces, and verifies that all burners are lighting and operating correctly before you put food on.
The test fire will produce smoke as residual cleaning products and the fresh seasoning cycle burn off. This is normal. Let it run until the smoke clears before cooking.
A grill cleaned thoroughly after Memorial Day will start the summer season in a condition that requires only routine maintenance -- a quick brush before each cook and an inspection of the drip tray every few sessions. The deep clean is the reset that makes the rest of the season manageable.
Once the exterior is clean, it's the right moment to apply a protective ceramic coat to the non-cooking surfaces -- lid, hood, firebox panels, cart, and hardware. Grillacoat wipes on in about 10 minutes and gives the clean exterior a barrier that slows re-oxidation through the rest of the season.